Jellyfin
Jellyfin is a tool for building a media server (that’s it)
With this, you can create a system where you can view your media just by accessing a specific URL!! Great, isn’t it?
My Environment
A workstation that was just sitting on a steel rack doing nothing.
The OS is Arch Linux, with a 4C4T Xeon CPU, 16GB RAM, and a Quadro GPU (<- nice!).
I’ve also connected an SSD to store media files.
Setting a Static IP
Configured via cockpit (NetworkManager). It’s more convenient to have a static IP, so let’s set one up.
Installation
For Arch Linux, use the following:
sudo pacman -S jellyfin-server jellyfin-web jellyfin-ffmpeg noto-fonts
After installation, enable the service:
sudo systemctl enable --now jellyfin.service
Access
Navigate to http://<server-IP>:8096 to see the initial setup screen. Complete the setup process.
After configuring everything, it should look something like this:
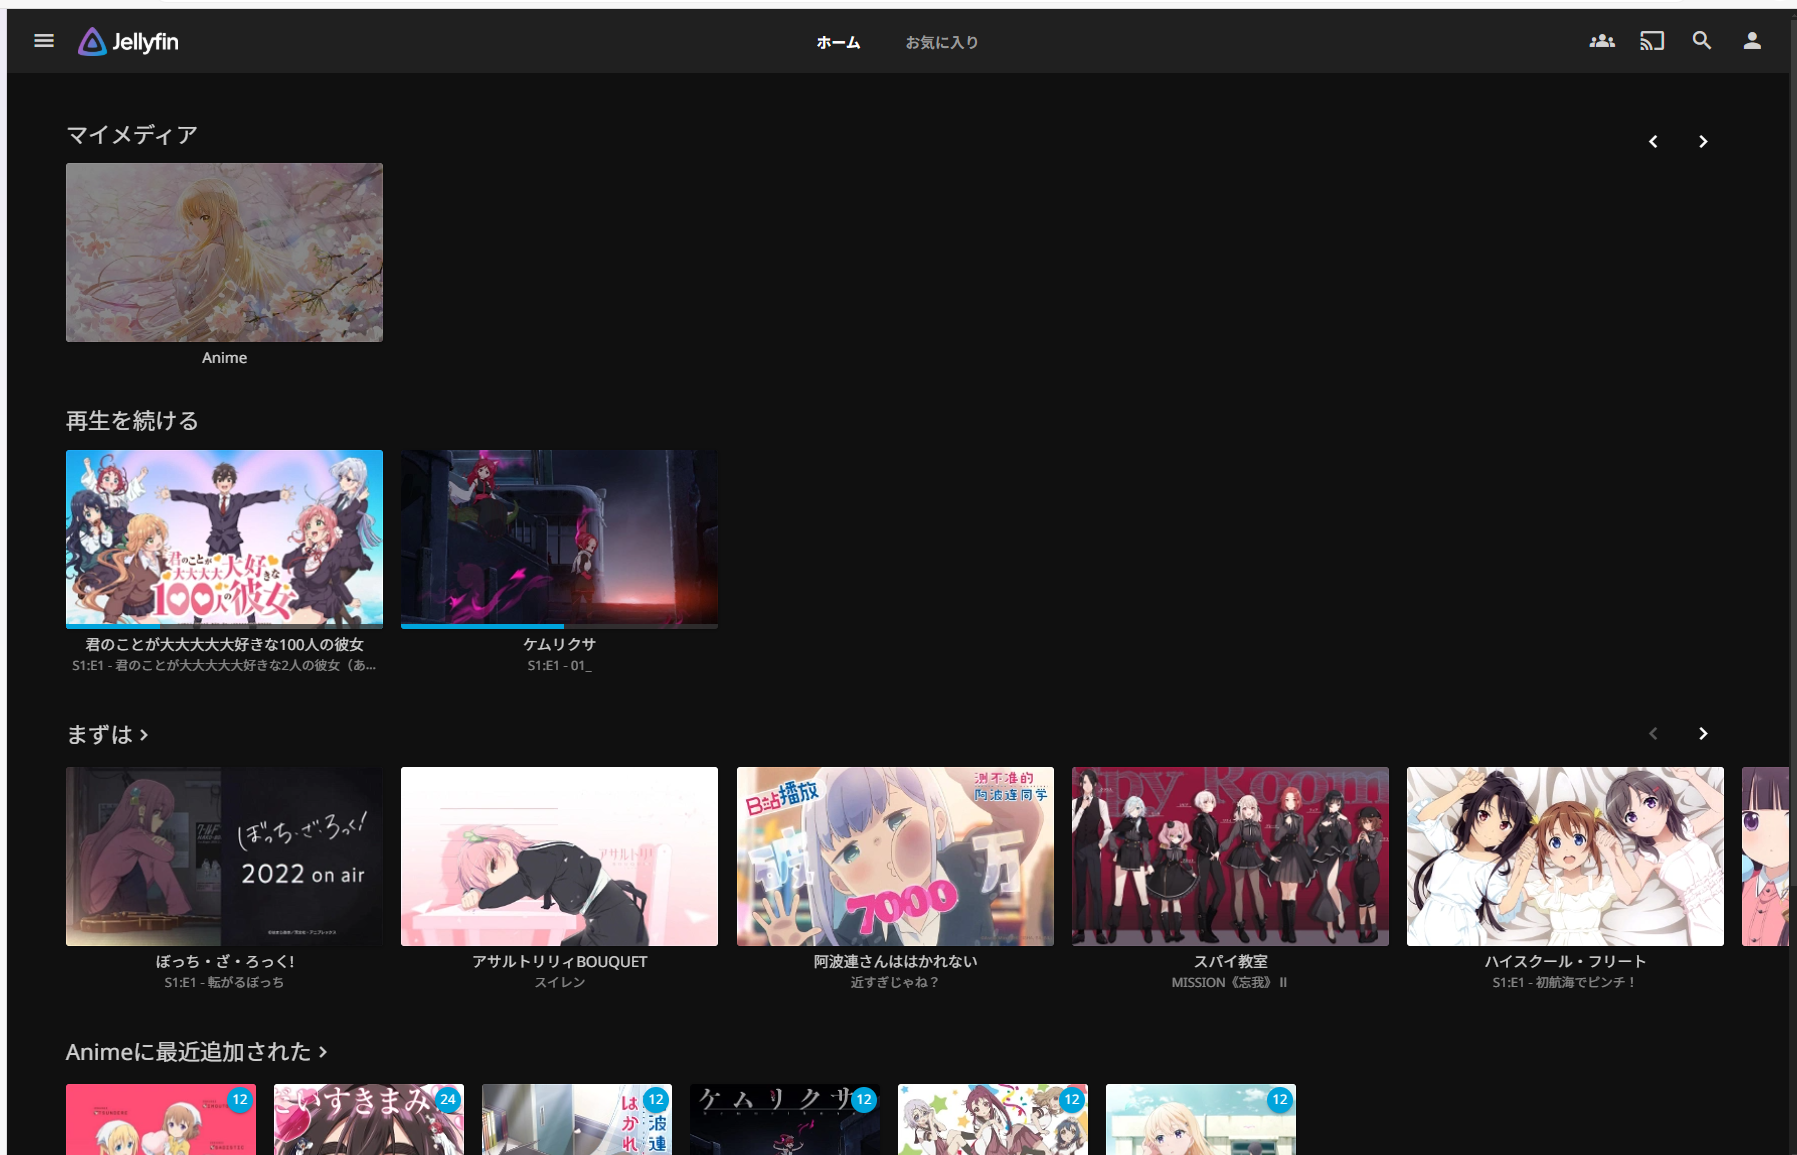
There you go. Looks good!
Transcoding
I convert most of my files to h265 to reduce file size.
Some browsers or environments can’t play these natively, so they need to be converted to formats like h264.
You can switch this process from CPU to GPU processing.
Since my environment has an Nvidia GPU, I first installed the Nvidia drivers:
sudo pacman -S nvidia-dkms
Then in Dashboard -> Playback -> set the Hardware Acceleration for transcoding to Nvidia.
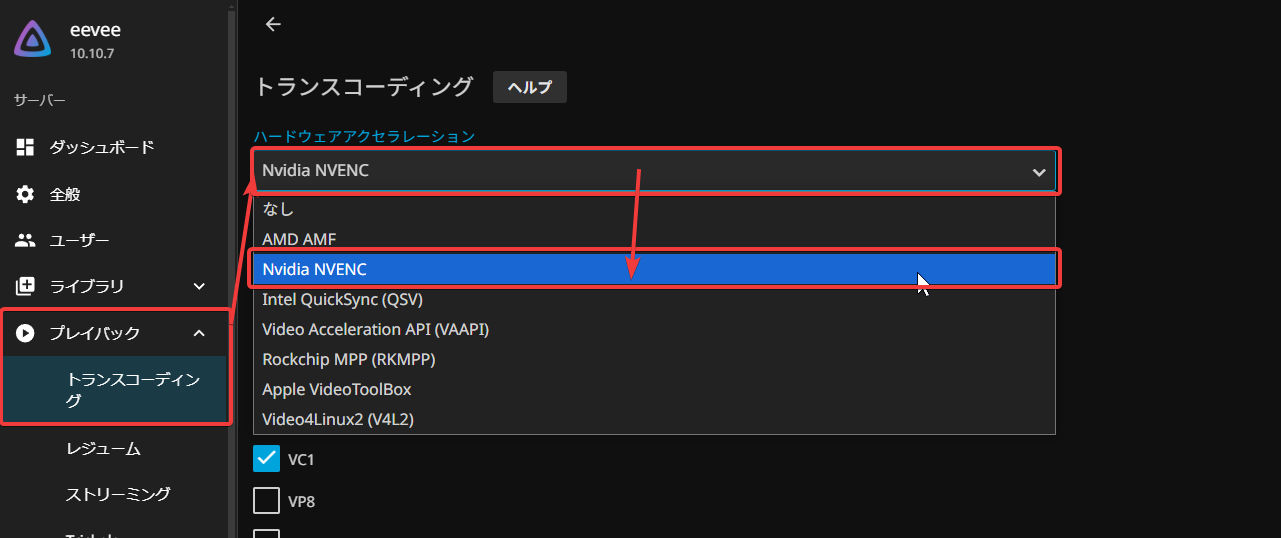
This makes the conversion faster. When you seek through videos, you won’t have to wait for processing. Very smooth.
Warning
Making your Jellyfin server publicly accessible could potentially result in copyright infringement issues.
In my case, I haven’t opened any ports to the outside. You should avoid doing that as well.
Conclusion
That’s all. It’s convenient because you don’t need to use samba or sftp every time you want to view your media!