Revanced
This is like a fork or successor to Vanced, which was a modified YouTube app from around 2020 that could block ads.
Vanced probably disappeared after receiving anger from Google. Because they were directly distributing patched APKs…
Revanced is a method where users apply patches themselves and then install them, so maybe it’s safer?
It seems like they might get in trouble someday, though!! Yes!!
Applying patches? Sounds difficult… No!!
While applying patches might sound difficult, there are several dedicated tools available, so don’t worry!!
There’s a non-zero possibility they contain malware, so even if it’s troublesome, please patch them yourself!!
Today, I’ll introduce “RVX Manager,” one of these tools that works entirely on your smartphone!!
Installation
Visit:
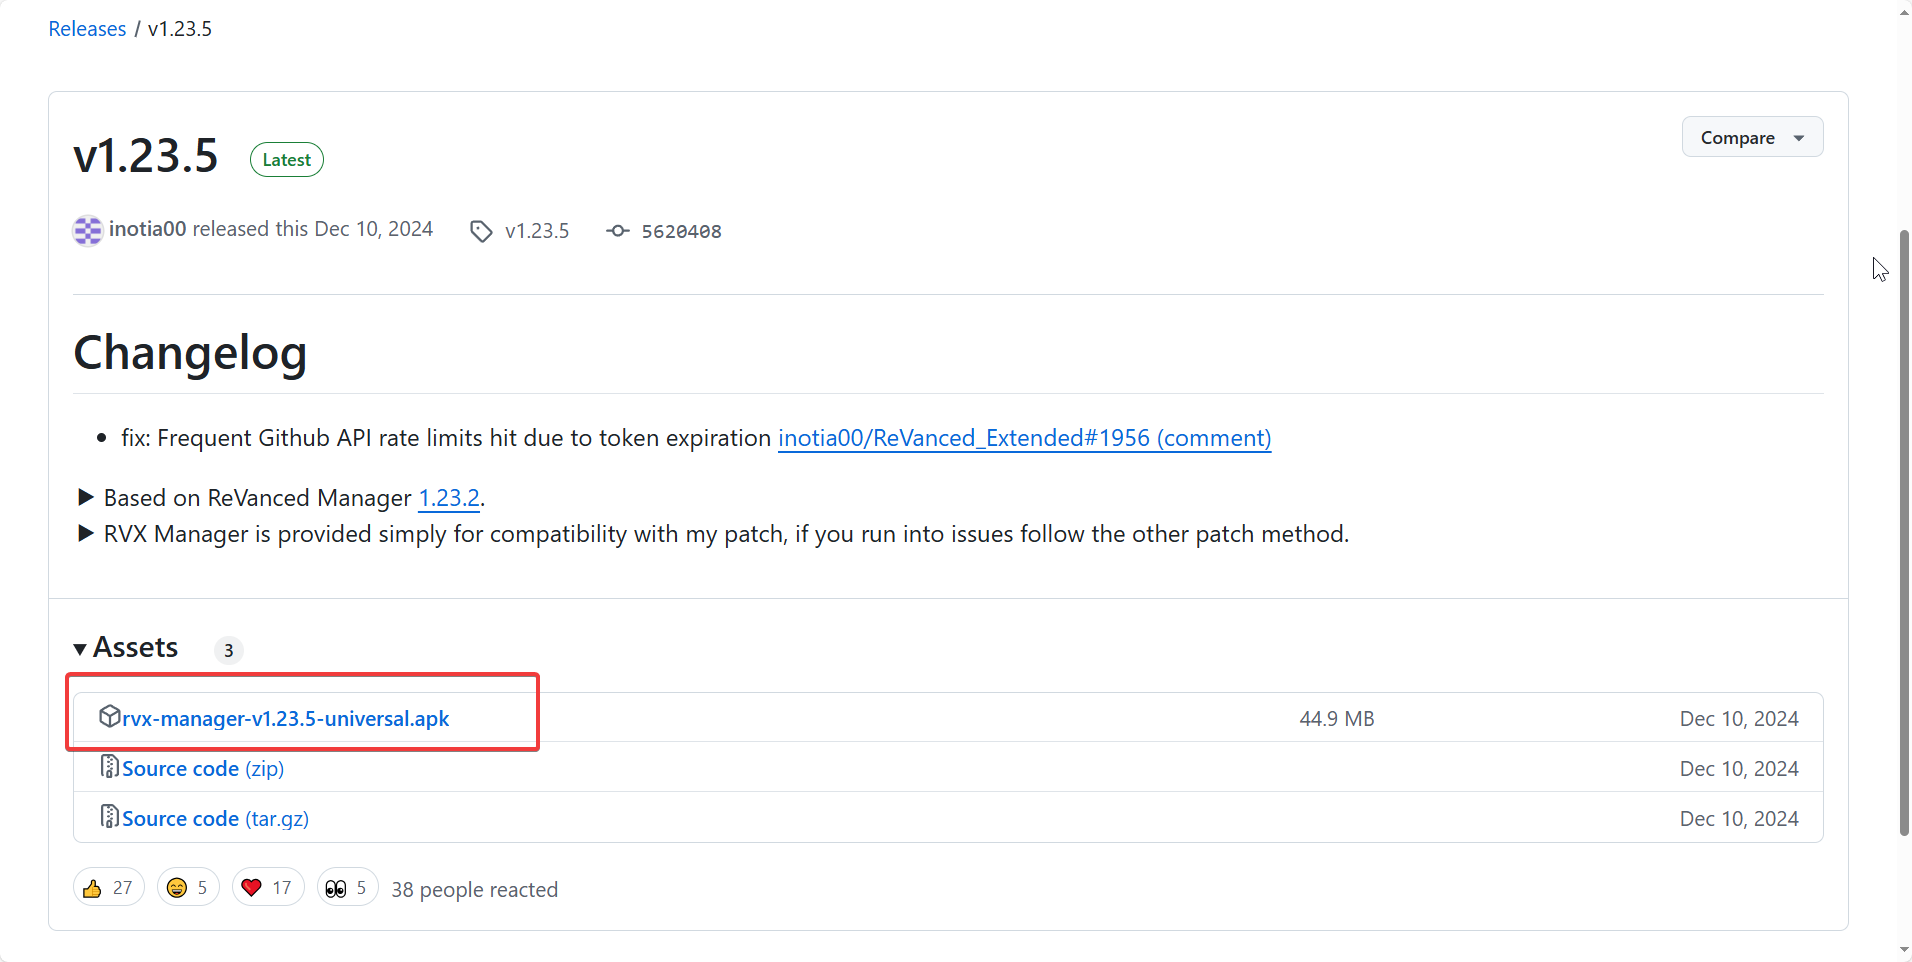
Download the APK file at the top of the Assets section and install it.
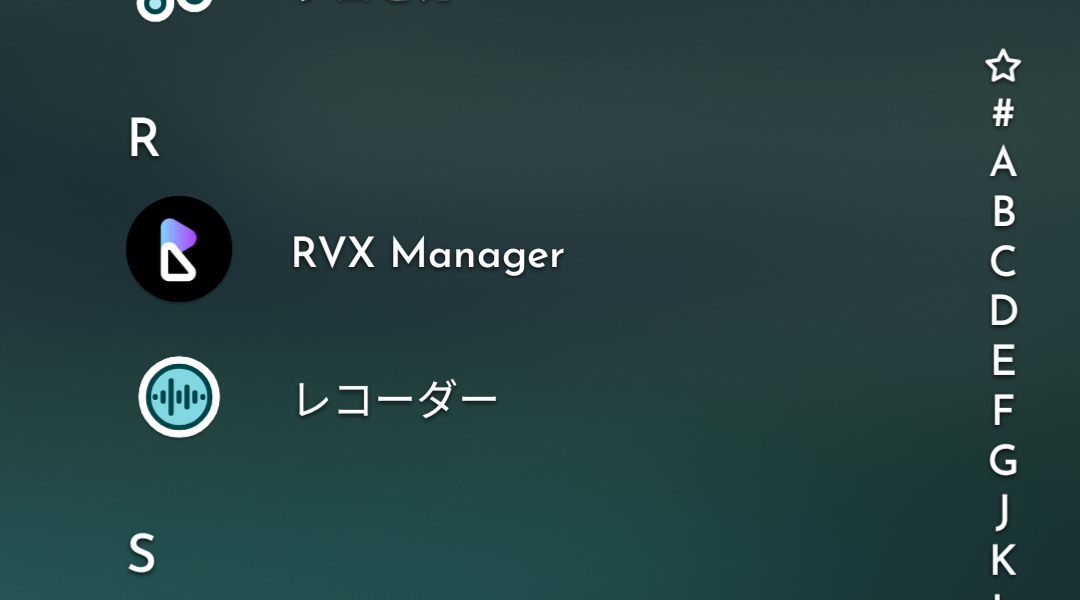
If it appears on your home screen, you’re good to go!!
How to Use
Now I’ll finally show you how to use it~
Today we’ll patch YouTube.
Preparing the APK file
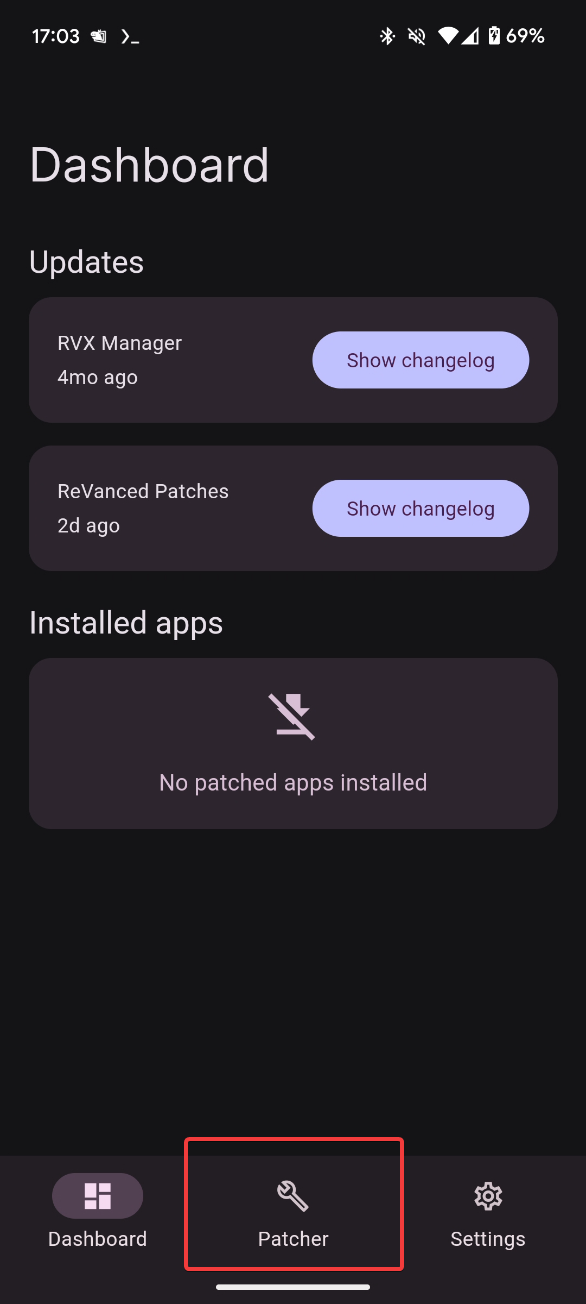
Open the Patcher tab.
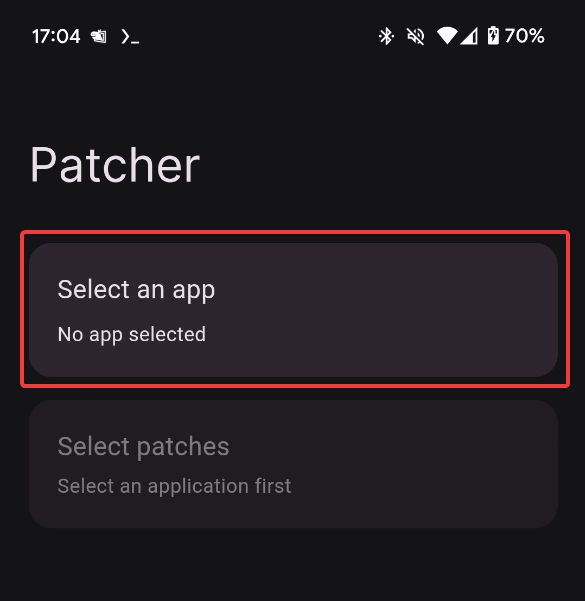
Tap Select an app
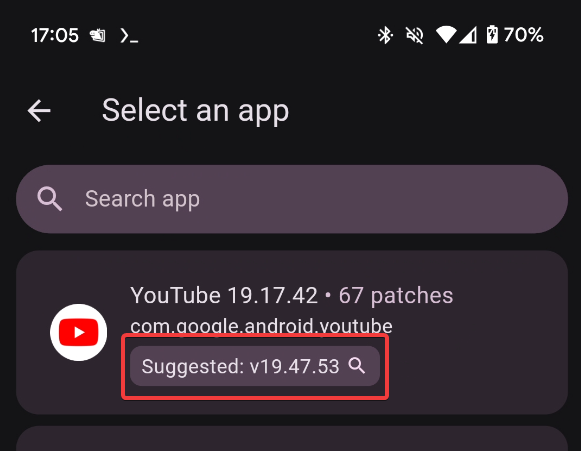
Tap the button labeled Suggested on the card for the target app.
This button is used to search for the APK file.
Tapping as shown in the image will display the search screen.
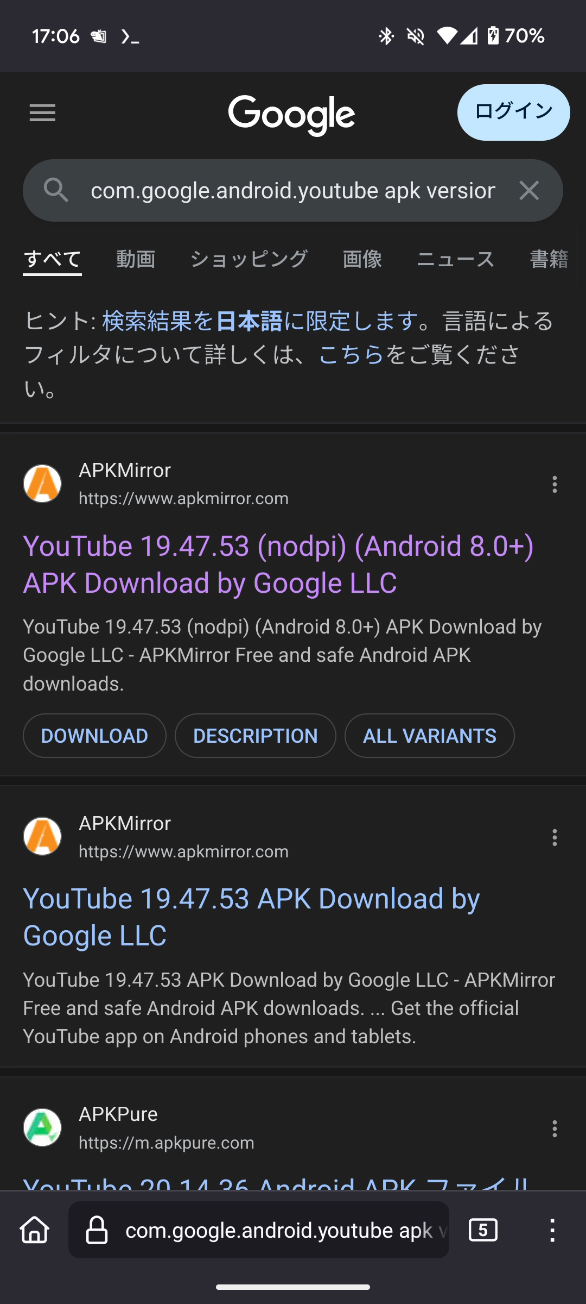
APKMirror is fast and good, so tap APKMirror
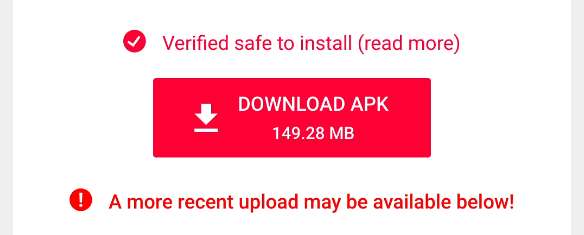
Look for the DOWNLOAD APK button and tap it to download.
Patch Preparation
After downloading, return to RVX Manager,
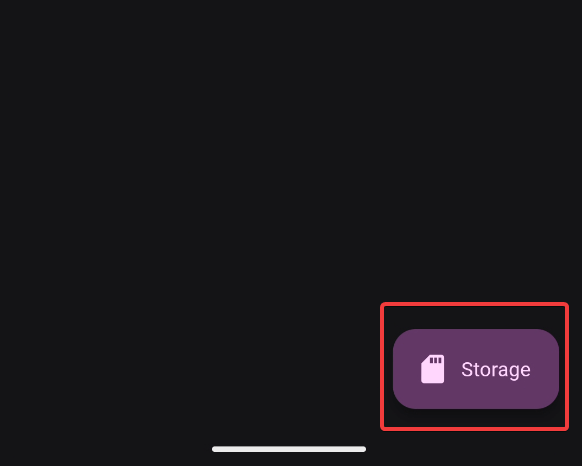
Tap Storage in the bottom right and select the APK from earlier.
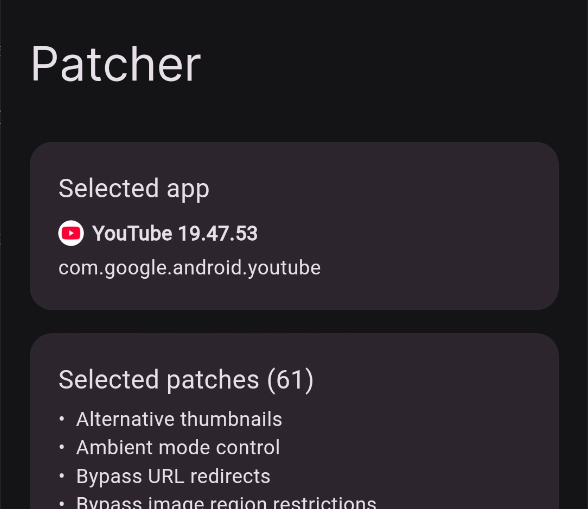
If the correct name and version are displayed under Selected app, you’re good.
Next, select patches.
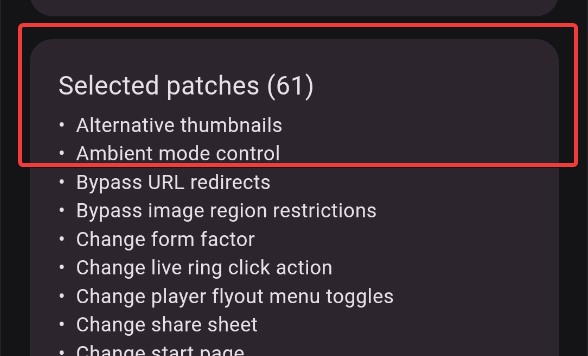
Tap Selected patches and
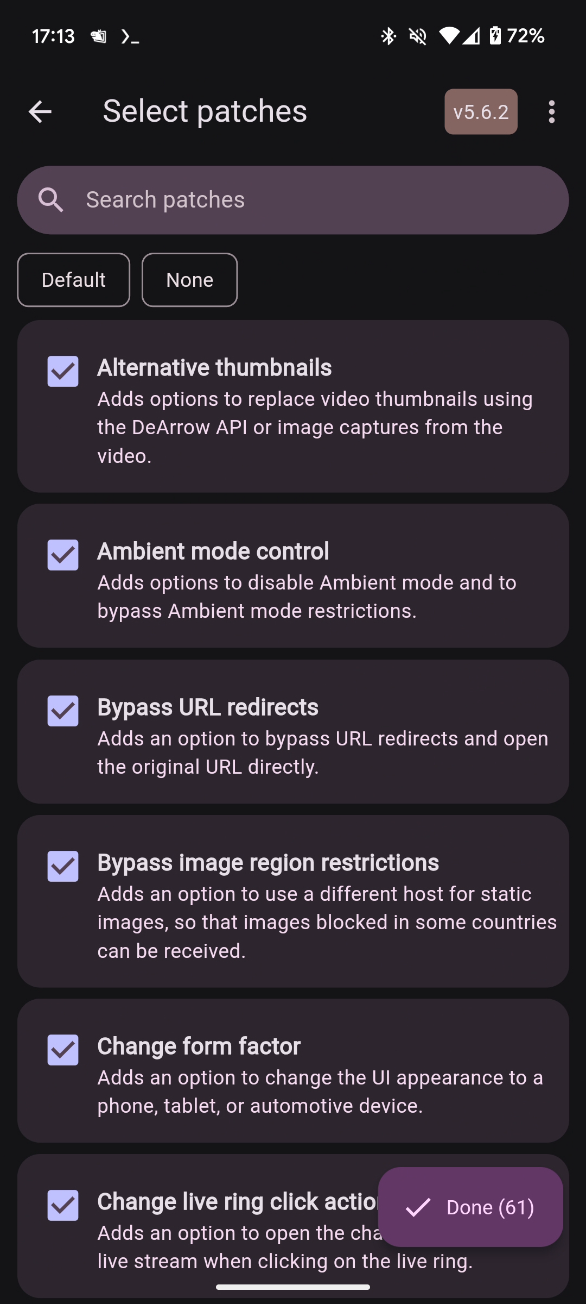
A list of patches will be displayed. It would be too much to explain each one, so I’ll only introduce the ones I changed from default!!
| Name | Function | Enabled/Disabled |
|---|---|---|
| Custom branding icon for YouTube | Whether to change the icon | Disabled |
| Custom branding name for YouTube | Whether to change the app name | Disabled |
| GmsCore support | Enable GmsCore usage | Enabled |
The last one is enabled by default, but please check just to be sure.
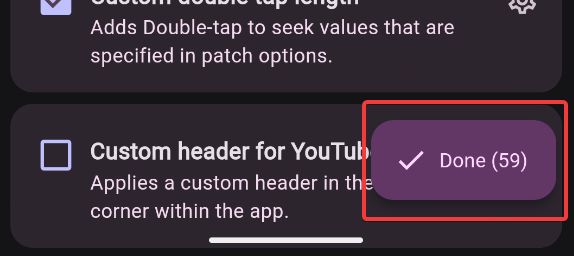
When you’re done selecting, tap Done
Patching
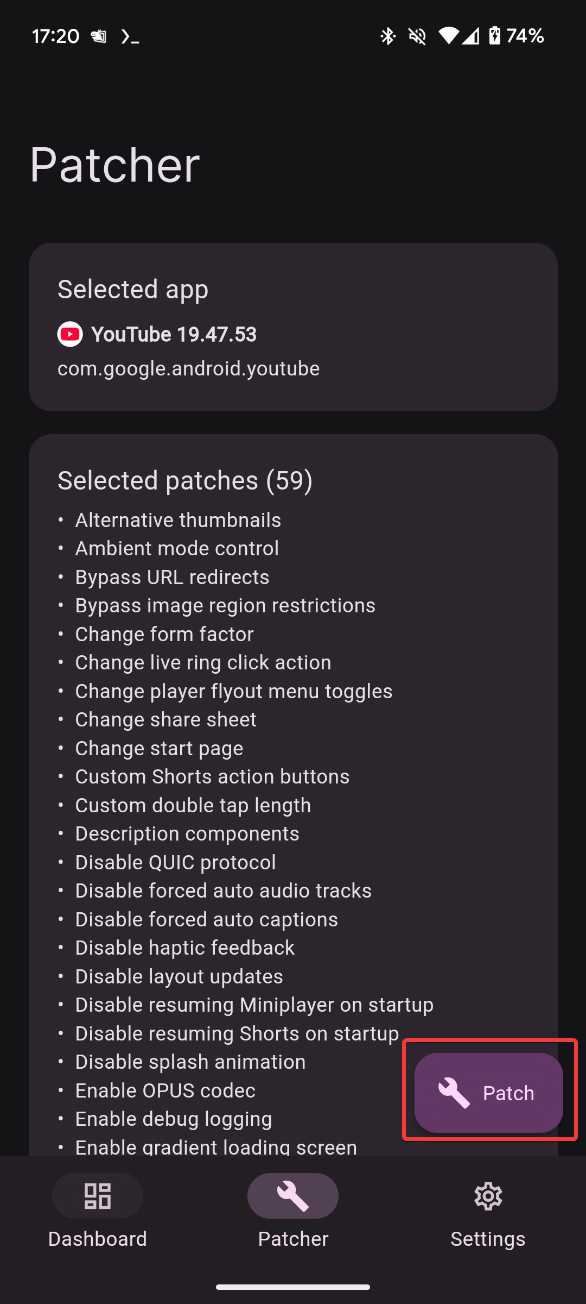
Tap Patch and
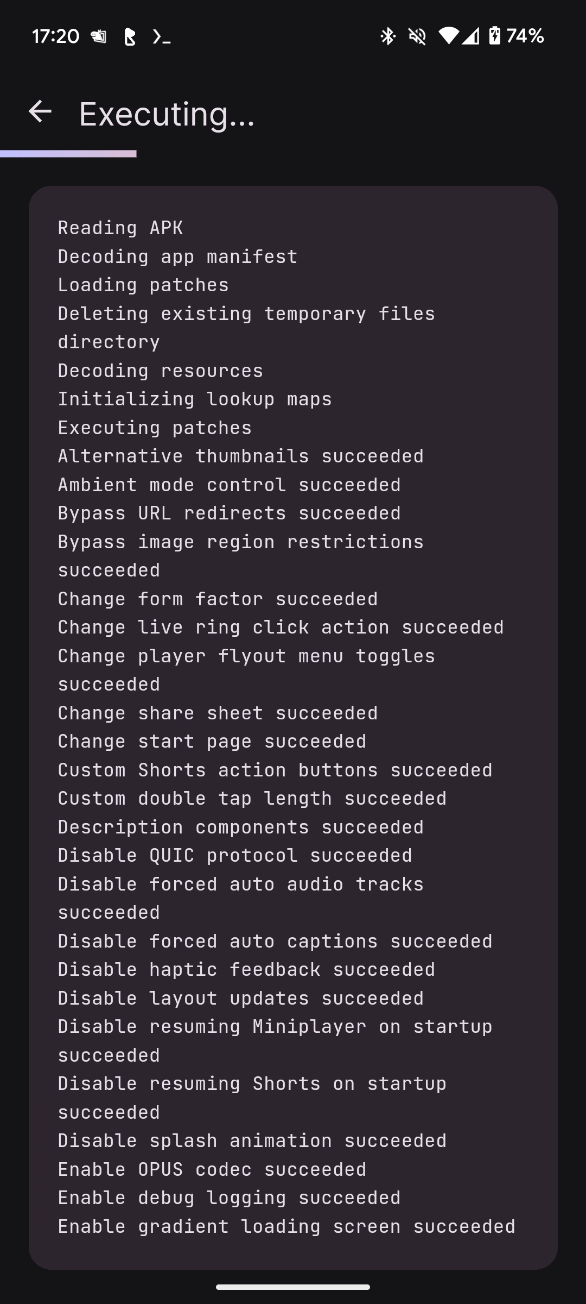
A stream of logs will appear. We wait. We waaaait.
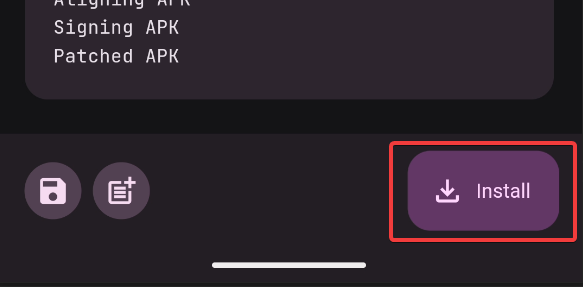
When it’s finished, the Install button will appear, so tap it,
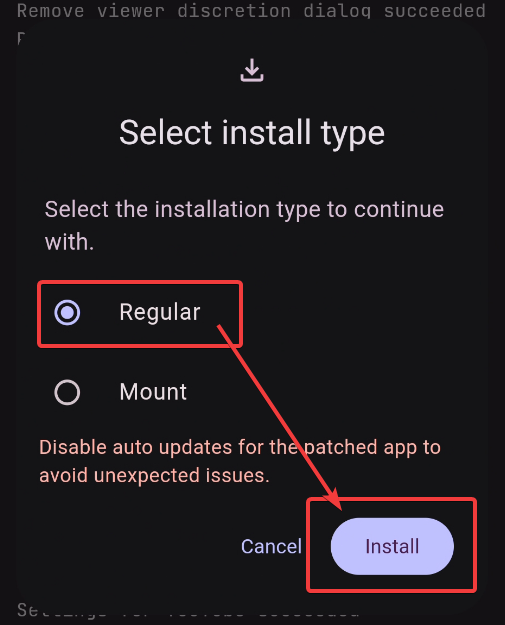
When something like this appears, select Regular and press Install.
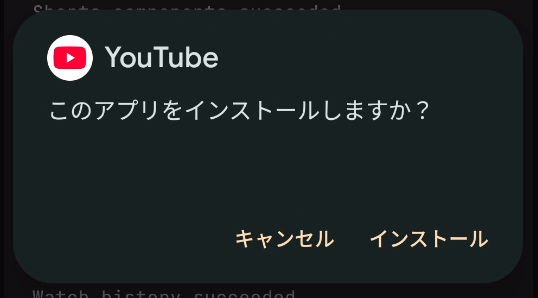
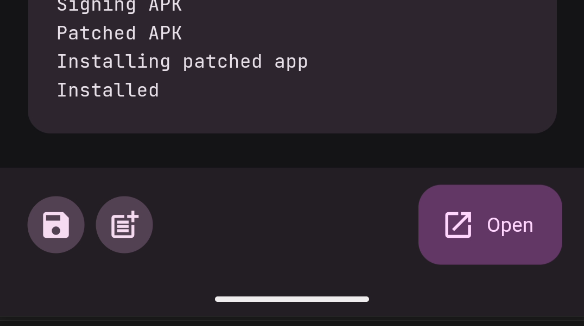
When what was Install before becomes Open, you’re good.
Opening
Tap Open to launch the app.
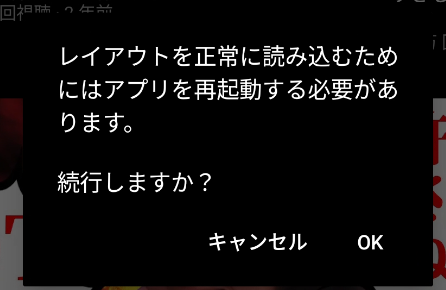
You’ll probably be asked to restart the app, so allow it.
After that, if you install GmsCore from the page above!!
You can use it!!
Root?
This method works even without rooting your device.
In fact, most recent smartphones are designed to prevent rooting or make it very difficult.
Even if you have root access, this method has better stability, so I recommend using this unless you have a specific reason not to.
Pixel phones are easier to modify in this regard, though.
Conclusion
That’s all. The end, the end.